How to clean a milk glass bottle?
Leave a message
Hey there! I'm a supplier of Milk Glass Bottles, and I know how important it is to keep these beauties clean. Whether you're using them for storing homemade milk, juices, or just as a decorative piece, a clean milk glass bottle not only looks great but also ensures the quality and safety of what you're putting inside. So, let's dive into the step-by-step process of cleaning a milk glass bottle.
Step 1: Gather Your Supplies
First things first, you'll need to gather the right supplies. You don't need anything too fancy; just some basic household items will do the trick. Here's what you'll need:
- Warm water: This is the foundation of your cleaning process. Warm water helps to loosen up any residue and makes it easier to clean.
- Mild dish soap: Choose a gentle dish soap that won't leave any harsh chemicals or strong scents behind. You don't want your milk or other beverages to taste like soap!
- A bottle brush: This is essential for reaching into the narrow neck and corners of the milk glass bottle. Make sure the brush has soft bristles to avoid scratching the glass.
- A clean cloth or sponge: You'll use this to wipe down the outside of the bottle and dry it off.
- Optional: Baking soda or vinegar: These natural cleaners can be used to remove stubborn stains or odors.
Step 2: Empty the Bottle
Before you start cleaning, make sure the bottle is completely empty. Pour out any remaining liquid and give the bottle a good shake to get rid of any loose debris. If there's a lot of residue stuck to the sides of the bottle, you can let it soak in warm water for a few minutes to loosen it up.
Step 3: Rinse the Bottle
Once the bottle is empty, rinse it thoroughly with warm water. Hold the bottle under the faucet and let the water run through it for a few seconds to remove any remaining liquid or debris. Make sure to rinse the inside and outside of the bottle.
Step 4: Add Dish Soap
Next, add a small amount of mild dish soap to the bottle. You don't need much - just a few drops will do. Swirl the soap around in the bottle to create some suds. If you're using a bottle brush, you can also add a little soap to the brush.
Step 5: Scrub the Inside of the Bottle
Now it's time to get scrubbing! Use the bottle brush to scrub the inside of the bottle, paying special attention to the neck and corners. Make sure to scrub all the way down to the bottom of the bottle to remove any residue or stains. If you're using baking soda or vinegar, you can sprinkle a little on the brush or add it to the soapy water in the bottle.
Step 6: Rinse Again
Once you've scrubbed the inside of the bottle, rinse it thoroughly with warm water. Make sure to remove all the soap and any remaining debris. You can hold the bottle under the faucet and let the water run through it for a few seconds, or you can fill the bottle with water and swish it around a few times before pouring it out.
Step 7: Clean the Outside of the Bottle
While the inside of the bottle is important, don't forget about the outside! Use a clean cloth or sponge to wipe down the outside of the bottle, removing any dirt or fingerprints. You can also use a little dish soap on the cloth or sponge if needed.
Step 8: Dry the Bottle
After you've rinsed and cleaned the bottle, it's time to dry it off. You can let the bottle air dry by placing it upside down on a clean towel or drying rack. Make sure the bottle is completely dry before using it again to prevent any mold or bacteria from growing.
Step 9: Remove Stubborn Stains or Odors
If you're dealing with stubborn stains or odors, you can try using baking soda or vinegar. Here's how:
- Baking soda: Sprinkle a little baking soda into the bottle and add enough water to make a paste. Use the bottle brush to scrub the paste around the inside of the bottle, focusing on the stained areas. Let the paste sit for a few minutes before rinsing it out with warm water.
- Vinegar: Fill the bottle with equal parts vinegar and water. Let the mixture sit in the bottle for a few hours or overnight. The vinegar will help to break down any stains or odors. After the soaking time, rinse the bottle thoroughly with warm water.
Step 10: Store the Clean Bottle
Once the bottle is clean and dry, you can store it until you're ready to use it again. Make sure to store the bottle in a clean, dry place to prevent any dust or debris from getting inside. You can also use a bottle cap or cork to keep the bottle sealed.
Tips and Tricks
- Clean your bottles regularly: To prevent stains and odors from building up, it's a good idea to clean your milk glass bottles after each use.
- Use a bottle drying rack: A bottle drying rack can help to keep your bottles upright and dry them more quickly.
- Don't use abrasive cleaners: Avoid using abrasive cleaners or scrubbers on your milk glass bottles, as they can scratch the glass and make it more prone to staining.
- Store your bottles properly: When storing your milk glass bottles, make sure to keep them away from direct sunlight and heat, as this can cause the glass to crack or break.
Conclusion
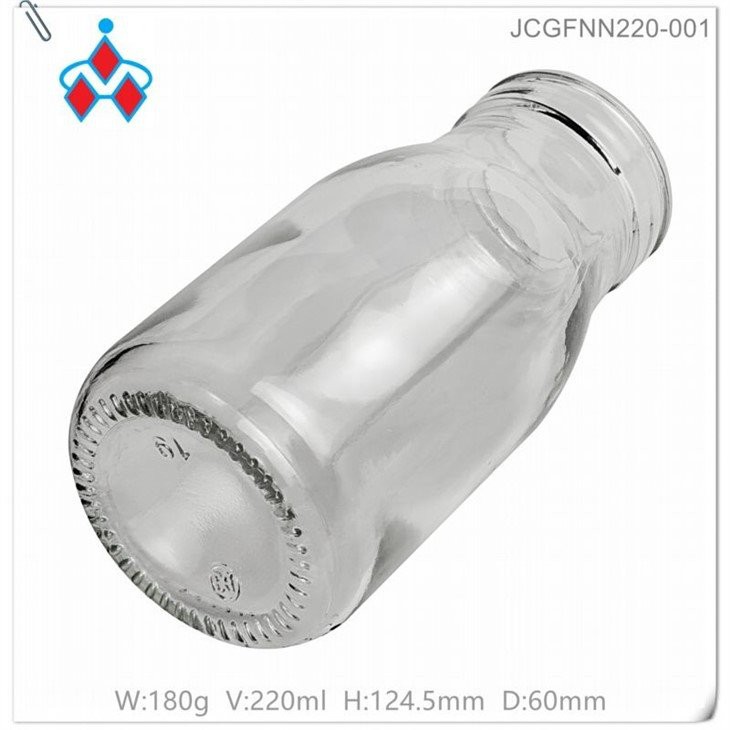
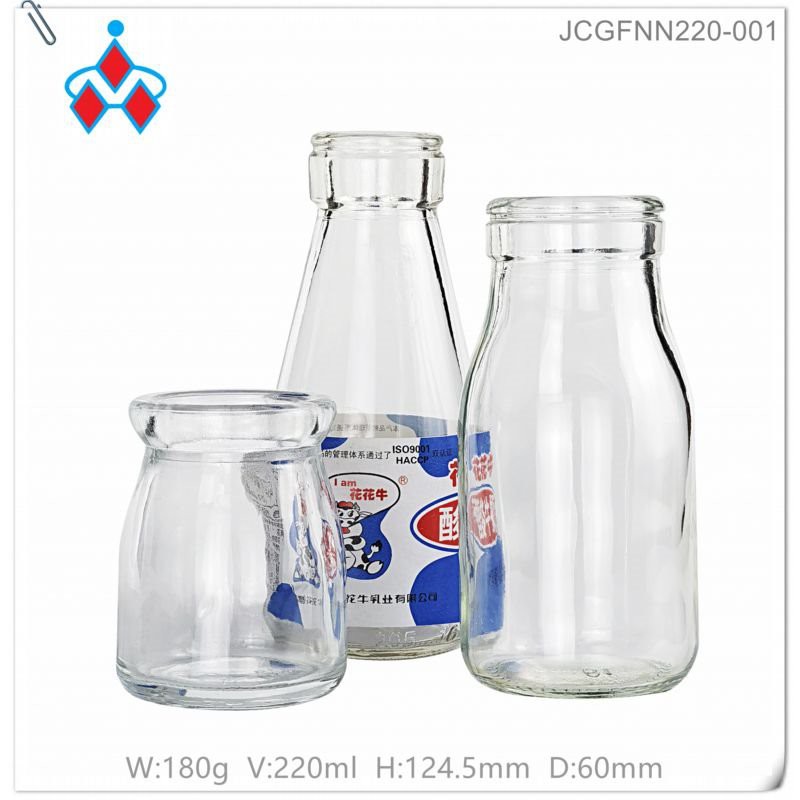
Cleaning a milk glass bottle is a simple process that only takes a few minutes. By following these steps and using the right supplies, you can keep your bottles looking and smelling great for years to come. And if you're in the market for high-quality milk glass bottles, check out our Milk Glass Bottle 220ml. We offer a wide range of sizes and styles to meet your needs.
If you have any questions or would like to discuss your purchasing options, feel free to reach out. We're here to help you find the perfect milk glass bottles for your business or personal use.
References
- "How to Clean Glass Bottles." The Spruce, https://www.thespruce.com/how-to-clean-glass-bottles-4175532.
- "Cleaning Glass Bottles." Martha Stewart, https://www.marthastewart.com/272330/cleaning-glass-bottles.